Disclosure: I got this product as part of an advertorial.
I have been wanting to add some fun, cute girly designs to my daughters walls for sometime. I’ve had good experiences with other vinyl products in the past so this was my go to idea. I was invited to review some removable wall decals from Wallslicks.com. My daughters room is pink and spring green with butterflies. I found this super cute set that had flowers, butterflies, and cute bumblebees. The colors would mesh well with the colors in my daughter’s room. It’s called Flower Bugs Wall Decal Stickers.
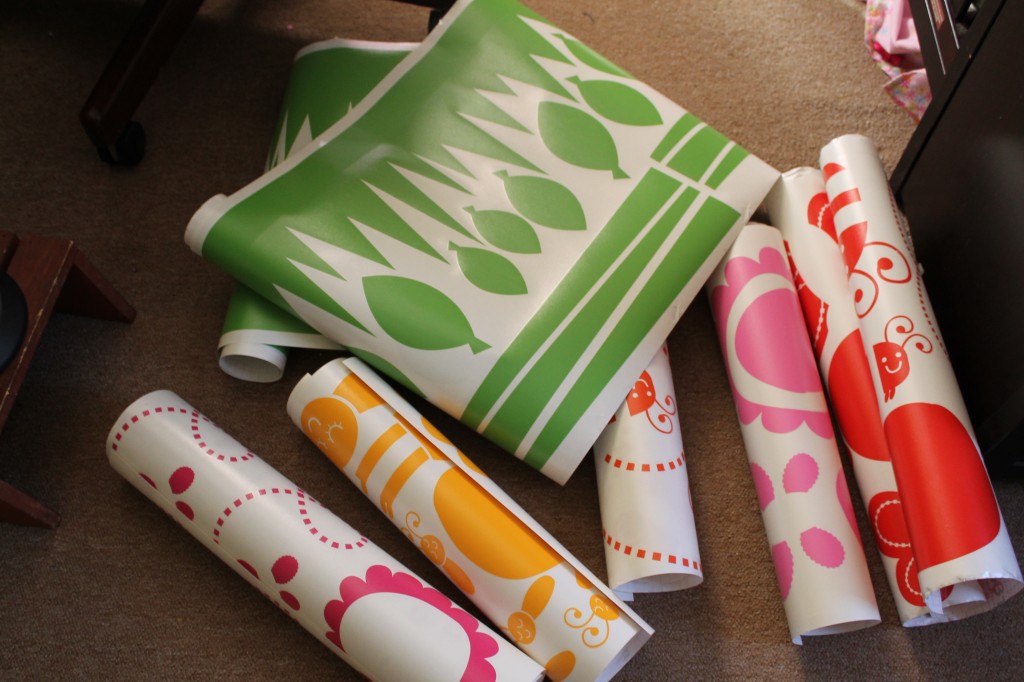
I received the wall decals rolled neatly in a shipping tube. When I first pulled them out I noticed the first 2 sheets were all the same color. I was worried at first until I started pulling out more and more sheets and realized that each color had separate parts. Until I pulled out all the sheets I was a little overwhelmed.
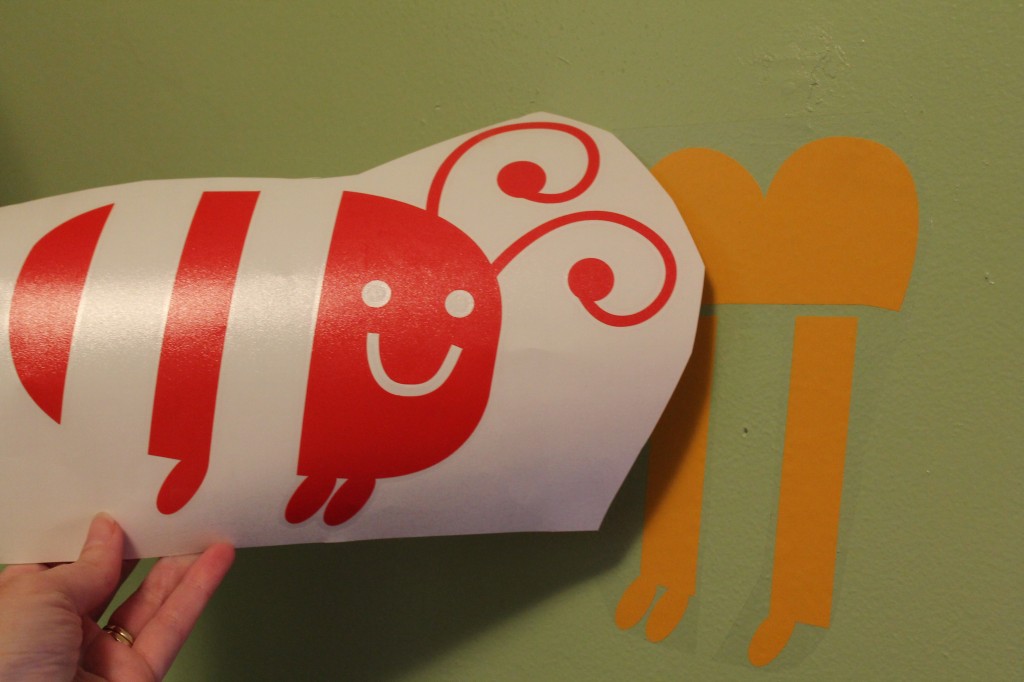
There were so many parts and trying to figure out what went to what. There were instructions on how to apply it the vinyl to the wall itself but not which parts went to what. I looked up the design on their website again just to get an idea. I started figuring things out. The yellow legs and wings of the bumblebees for instance were separate from the bumblebee stripes and face.
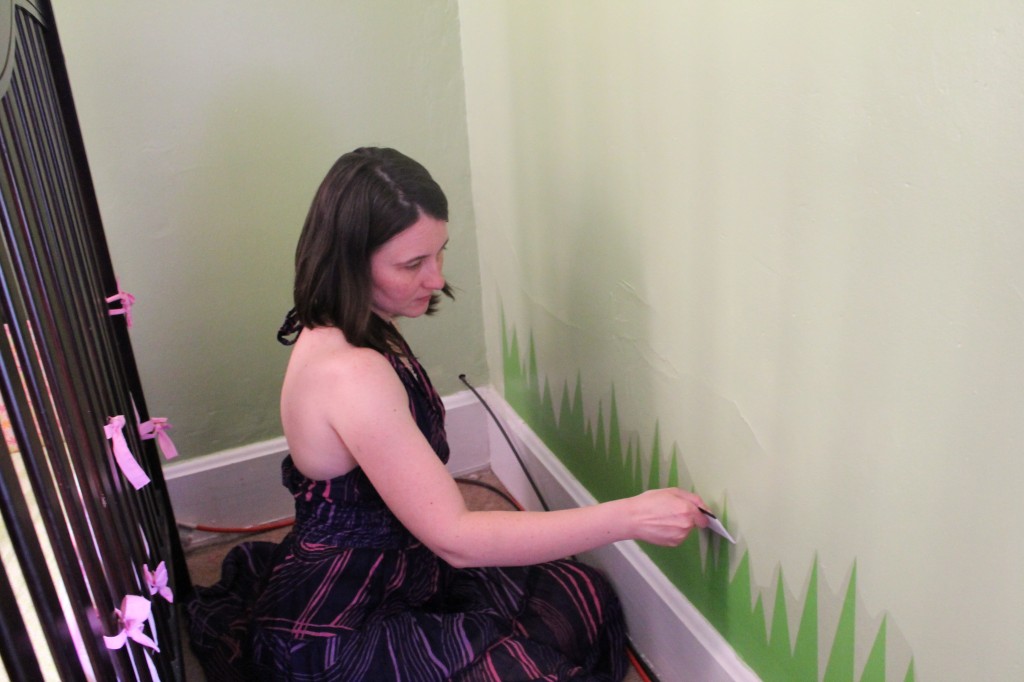
The instructions say to clean the wall thoroughly. I cleaned the wall with a damp clean cloth and a shaklee all purpose cleaner I had. I also think it’s important to mention that our walls are painted with a semi-gloss paint. After allowing the walls to dry I started cutting out shapes and figuring out what went where. I figured the logical place to start was from the bottom up, with the grass.
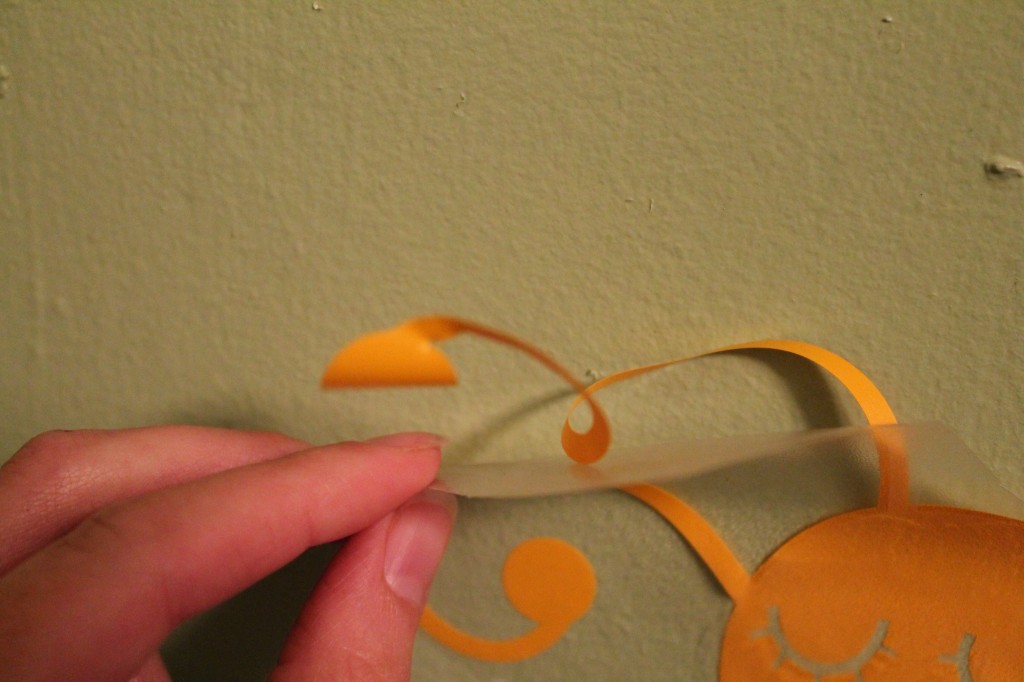
This vinyl set came with a hard plastic transfer tool that you were to rub over the masking tape part to transfer the design to the wall. I was rubbing taking extra care around the tips of the grass blades. When I started peeling it back I noticed the grass was coming with it. Initially I thought I just didn’t rub hard enough. So I replaced it and rubbed hard but again, it was peeling off. This did this no matter how much I rubbed with the tool. I ended up removing the whole thing from the masking tape and having my son help me place it then rubbed over the vinyl itself. This seemed to work fine for the bigger grass parts.
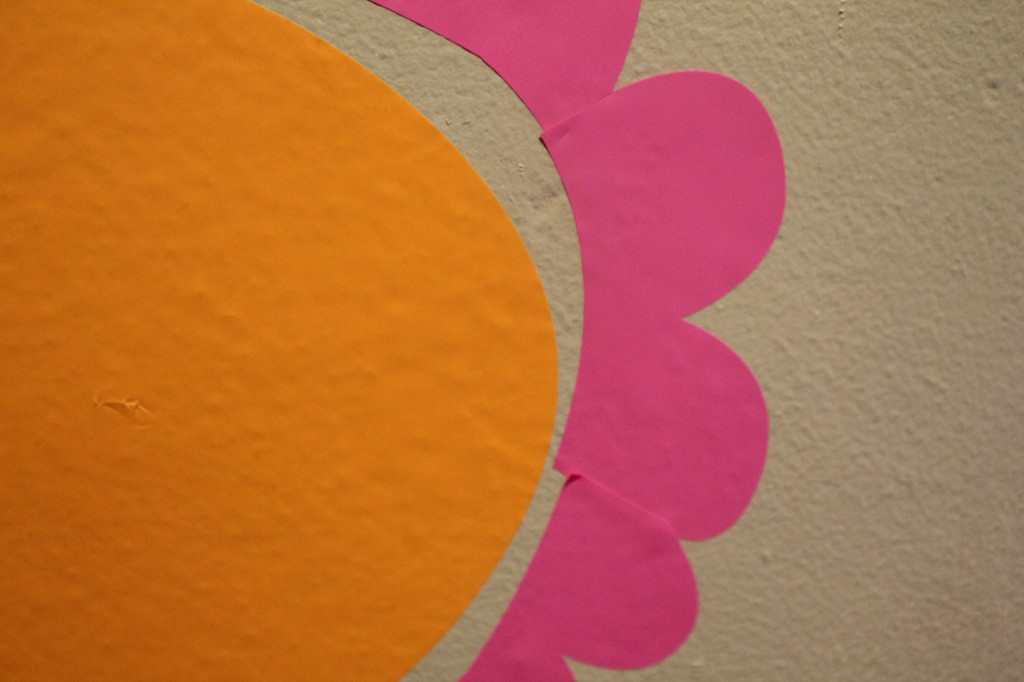
After installing some steps and leaves (that did the same thing) I went to the flowers. This is where I started to get a bit frustrated. The petals would peel up. The more delicate pieces started ripping. It was trickier to remove it.
I worked for a little over an house the first day and had to take a break. I was starting to get frustrated. I figured I had to be doing something wrong and figured I’d regroup, refresh and go at it again the next day. Considering all the issues I ran into, as a whole, what I had done didn’t look that bad.
I racked my brain to try to figure out what I was doing wrong. Reading and rereading the instructions. My thought was, maybe it was the cleaner. So the next day I simply wiped the walls down with a clean damp cloth and started again thinking surely that must be it. But to my dismay, that didn’t change the situation. I also noticed the stuff I had done from the previous day was peeling up off the wall.
So I tried to apply a few more decals. Trying different techniques and such. The only thing I could figure is that these don’t work on semi-gloss paint. It’s a shame, I really thought these would be perfect for my daughter’s room. I didn’t even try the little bee lines that were supposed to go behind the flying insects because there was so many small dashes it would have taken me forever with it sticking and peeling. I have applied vinyl decals in m boys’ rooms that also had the same brand of semi-gloss paint though so not sure if it’s a different type of vinyl.
Social Media:
Twitter: @Wallslicks
Facebook: facebook.com/WallSlicks
I received one or more of the products mentioned above for free using Tomoson.com. Regardless, I only recommend products or services I use personally and believe will be good for my readers.


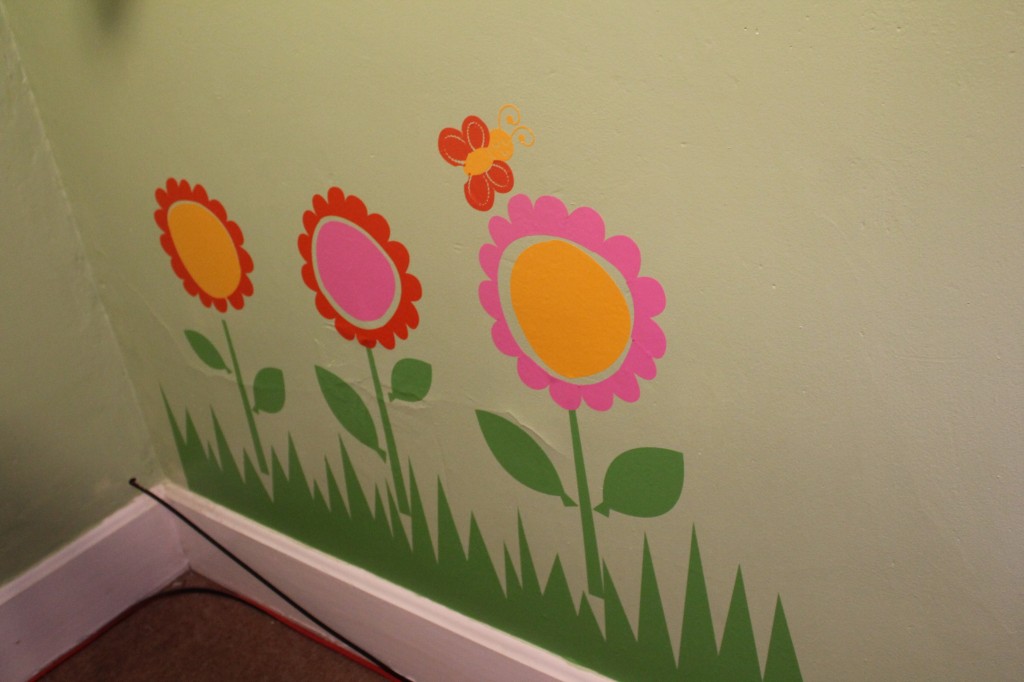
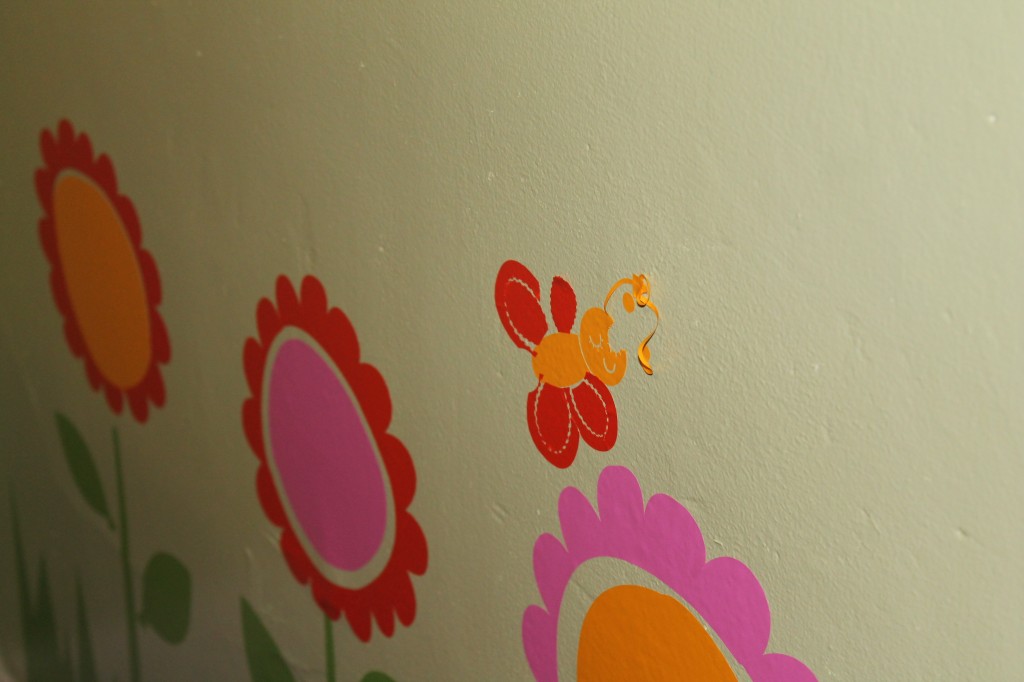
Well what you did do looked cute…while it lasted.
Sorry it didn’t work so well. They would have been adorable.